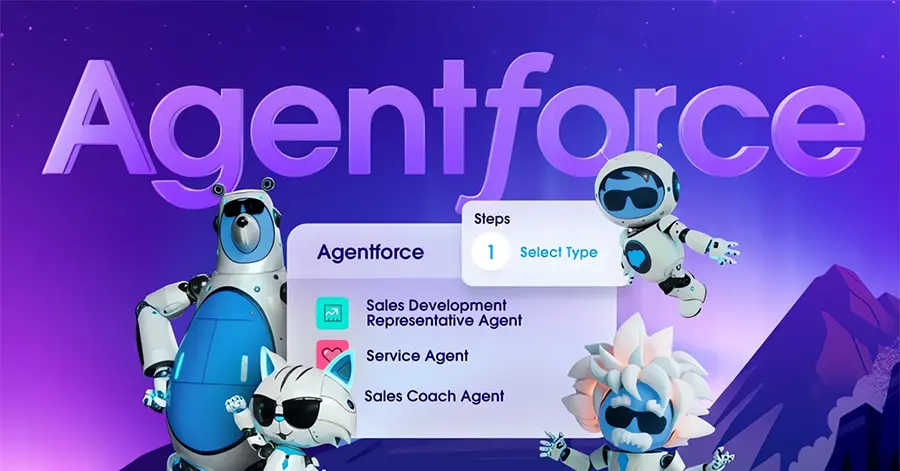
In today’s fast-paced business environment, leveraging AI-powered automation can be a game-changer. Agentforce is Salesforce’s cutting-edge digital labor platform that helps businesses streamline workflows, enhance productivity, and improve customer interactions—all with the power of AI-driven agents.
As you begin your journey with Agentforce, the free Foundations add-on serves as the perfect starting point. It provides essential sales, service, marketing, and commerce features, giving you a comprehensive 360-degree view of your customers.
The best part? You can start using Agentforce for free with the Foundations add-on, included in Sales or Service Cloud Enterprise Edition and above. In this guide, we’ll walk you through everything you need to know to activate and start using Agentforce at no cost. Let’s dive in!

If you’re new to Salesforce CRM, you’ll need to sign up for an account. After purchasing Enterprise Edition or higher, you’ll gain access to Agentforce through the Foundations add-on. Both new and existing Salesforce customers can activate the Foundations add-on for free, enabling them to manage sales processes without any upfront costs. It’s a great opportunity to explore the platform and experience its benefits firsthand.
The final step is to connect your existing CRM data to Agentforce. This integration unlocks the platform’s full potential, providing a seamless and efficient business management solution. As you get started, track your progress and usage to pinpoint areas where an upgrade could add value in the future. This proactive approach will help you make strategic decisions and scale your business effectively.
By integrating your data strategically and optimizing your workflow, Agentforce becomes more than just a CRM—it becomes a growth engine that enhances client relationships, boosts efficiency, and drives long-term success.
Agentforce is a powerful, AI-driven support tool designed to streamline customer service operations. By setting up the Foundations add-on for free, businesses can explore its features and optimize their workflows without upfront costs. Whether you're a new or existing Salesforce user, following the setup and integration steps in this guide will help you maximize the benefits of Agentforce.
If you need additional help setting up or customizing Agentforce, consider consulting our Certified Salesforce Consultants. We can assist with advanced configurations, data migrations, and optimizing automation workflows to fit your specific business needs.
Fill out the following form & we will get back to you.